Maker Faire Build Night 2015-02-12
This is part of the Noisebridge Booth for Maker Fair 2015 project
The project has begun!
We started with the task of gathering a couple test materials and building our test pieces for the table top.
TAP Plastics recommended Ultra-Glo resin for this project. Apparently this resin can also be used to finish the wood on the table so we can go right over the resin and wood together to give the final table top a smooth flush surface. The finished table based on the design so far will end up needed about 110 oz of resing to make the Noisebridge logo.
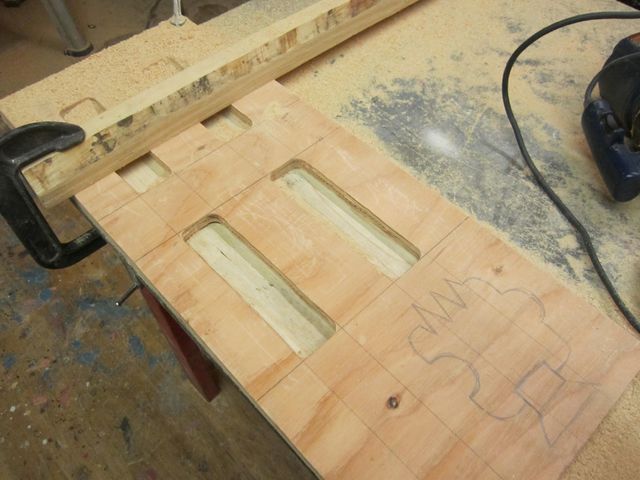
The channels cut into the test piece are approximately the same width as in the final tabletop. This should give us a good idea of how the lighting will look and how to make the design better.
The current detail of the lighting channel using a sheet of 1/2" wood for the resin logo and then a 3/4" sheet for the LEDs and the substructure for table top. We plan to cut these together, free hand, so that both pieces match.
At TAP Plastics, they said the resin will not stick to mylar sheets. We have used spray adhesive to stick the mylar to the back of the resin test piece. This was then screwed to another piece of plywood to support the resin as it sits on top of the mylar. The mylar will be removed once the resin has cured.
We stirred the resin vigorously for two minutes per batch. Making sure to scrap the sides and bottom of the mixing cup to try to get as through of a mix as possible. Apparently Ultra Glo is fine with us filling the resin with bubbles.
We carefully poured as soon as the two minute mixing was complete.The white resin in the foreground has a pearl essence pigment in it.
The Ultra Glo documentation says to wait four minutes after pouring then exhale onto the surface of the resin, or use a propane torch, to pop the bubbles. The carbon dioxide is what pops the bubbles they say.
Now we wait for the resin to cure ~48 hours, and work out the LED situation.
If you have parts recommendations please add them to the Maker_Faire_2015 Parts and Materials working list at the bottom of the page.


