Maker Faire Build Night 2015-04-30: Difference between revisions
No edit summary |
mNo edit summary |
||
| Line 6: | Line 6: | ||
[[File:TableResinPoured2015-0430.jpg|none|640px|thumb]] | [[File:TableResinPoured2015-0430.jpg|none|640px|thumb]] | ||
The top coat of clear resin has been poured over the tabletop and the whole thing is shiny now. We used the same resin as the logo, just without pigment. We made a mistake in the pouring though. We should have poured a | The top coat of clear resin has been poured over the tabletop and the whole thing is shiny now. We used the same resin as the logo, just without pigment. We made a mistake in the pouring though. We should have poured a thin "sealing" coat of resin over the top first so that we wouldn't have to fight so many bubbles coming up through the resin as it seeps into the wood. Since the resin ended up being absorbed into the wood un evenly we don't have a completely flat surface. Another thin coat of resin should do the trick though. Covering the whole 5'x5' area also used much more resin than I expected, fortunately we had extra just in case. | ||
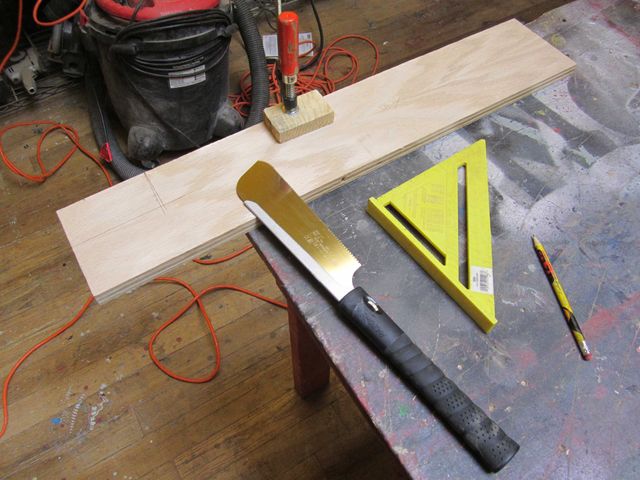
[[File:Outletcutting2015-0430.jpg|none|640px|thumb]] | [[File:Outletcutting2015-0430.jpg|none|640px|thumb]] | ||
Latest revision as of 21:14, 5 May 2015
This is part of the Noisebridge Booth for Maker Fair 2015 project
The project continues.
We are making steady progress toward completion. The top of the table is nearly done and the wood working and ac power for the bottom have been installed. Things are looking pretty good. Here are the highligts
The top coat of clear resin has been poured over the tabletop and the whole thing is shiny now. We used the same resin as the logo, just without pigment. We made a mistake in the pouring though. We should have poured a thin "sealing" coat of resin over the top first so that we wouldn't have to fight so many bubbles coming up through the resin as it seeps into the wood. Since the resin ended up being absorbed into the wood un evenly we don't have a completely flat surface. Another thin coat of resin should do the trick though. Covering the whole 5'x5' area also used much more resin than I expected, fortunately we had extra just in case.
While the resin was curing. We installed the rest of the parts for the bottom of the table; the missing faces of the legs. The electrical wiring seems to be working properly, so it was time to seal it in.
Here is the table with all the parts on.
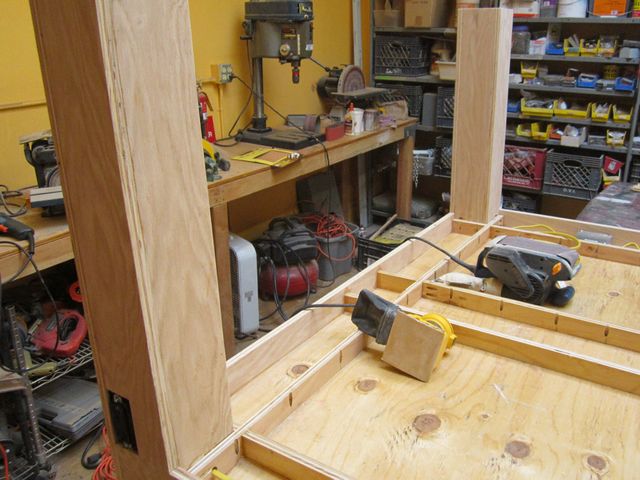
We ended up being a little sloppy with the glue and some of our corners were not as tight as designed, so the table needed substantial sanding to clean up everything. The belt sander with and 80 grit belt made this go very well and about as fast as it could be done. Another pass was then done with a 150 grit belt
Before staining, we wet the wood to raise the grain up and then used the random orbit sander with a 220 grit to smooth everything out. The sanding went well and the table almost felt like a completely different table. The finish should turn out really nice.
Once the sanding was done, we blew and wiped away all the dust off the table. We applied the same light walnut color to the table. Now it is ready for the polyurethane coats.
In the evenings we started making the power and data connection between the LEDs on the tabletop. This is turing out to be a tedious and time consuming task, but the end is in sight, Also the power supplies have been installed on the underside of the table and have been wired up for power. During the next build session, hopefully we will get to start turning stuff on.
Until next time.


